

Import and export parking zones
Move parking zones between systems using a simple CSV file. Export the zones you already have, then import them somewhere else — useful when you set up a new system, or when zones come from a third party.
Zone boundaries only. Settings, lead times and the rest are not carried across — see the note at the end.
Step 1: Open Parking Zones in CabbiCore
Open the CabbiCore console on the zones page. Under Parking Zones you will find three options: Import, Export and Delete All.
Step 2: Export what you already have
Click Export.
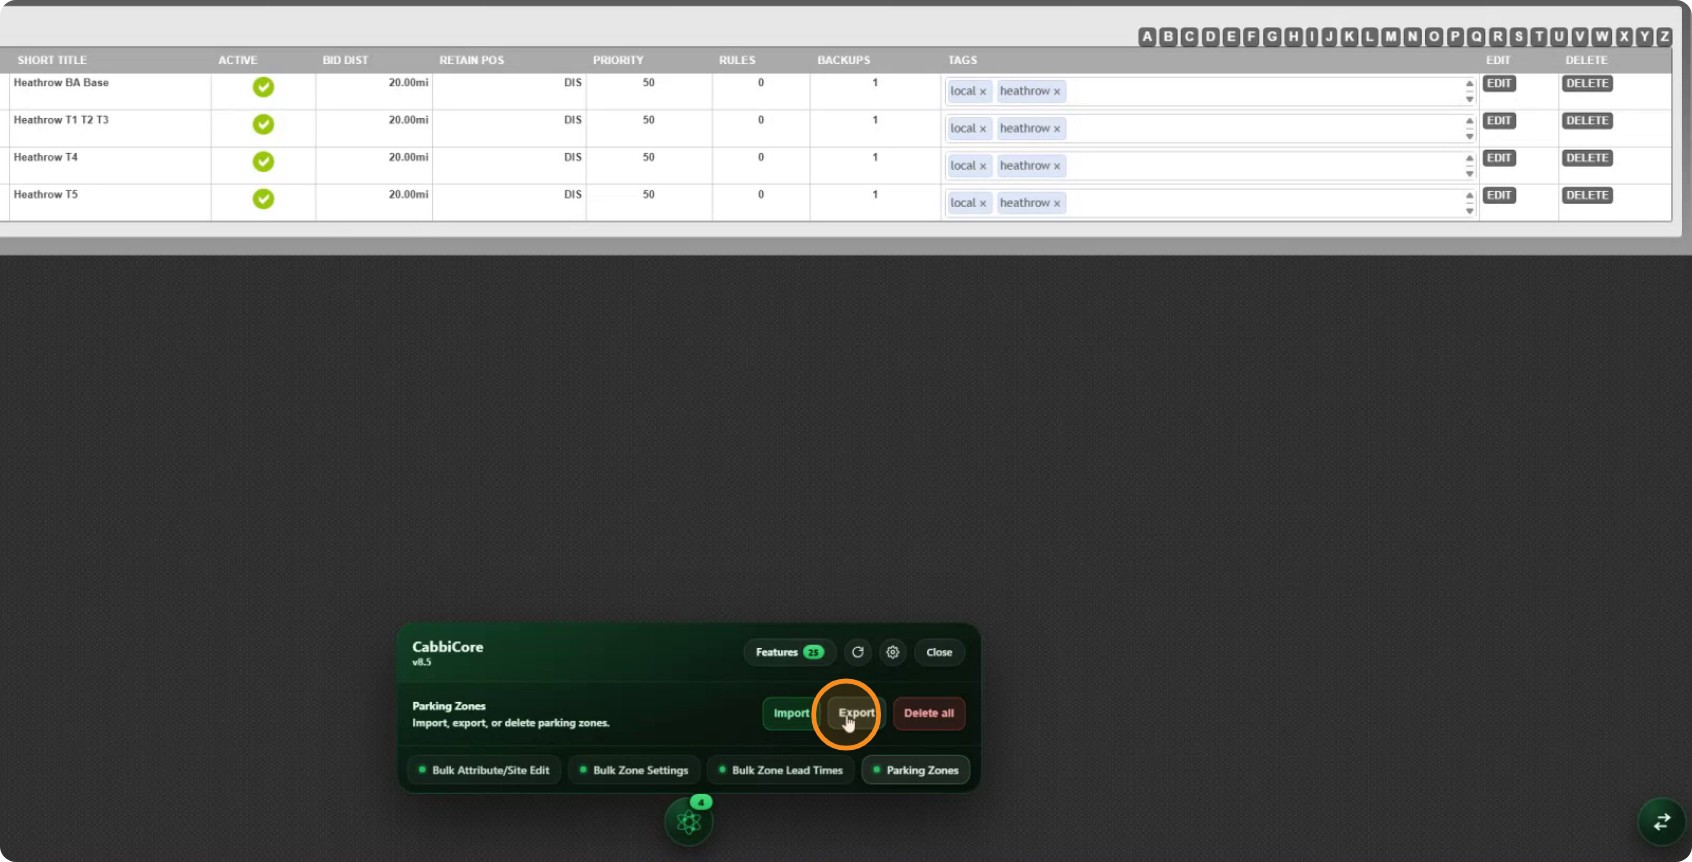
CabbiCore gathers every parking zone in the system and builds a CSV file for you.
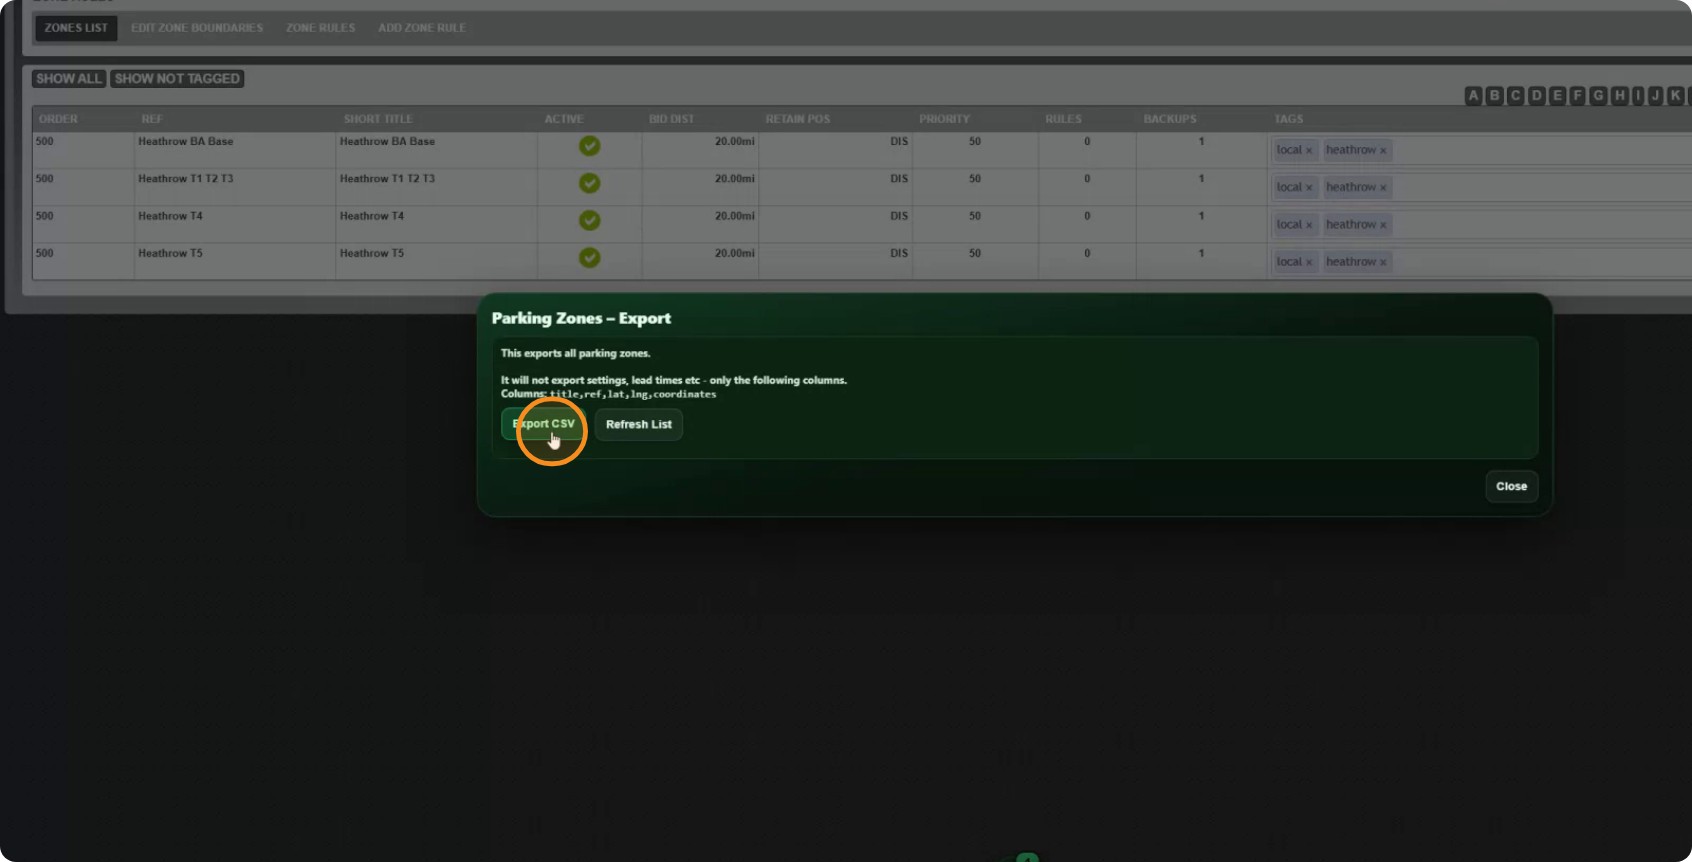
The file has one row per zone and five columns:
title— the zone nameref— the zone referencelatandlng— the centre pointcoordinates— the boundary
This is the same format the importer expects, so anything you export can be imported again as it is.
Step 3: Take the file to another system
Open the other system, go to its Parking Zones section, and you are ready to bring the file in.
Step 4: Start the import
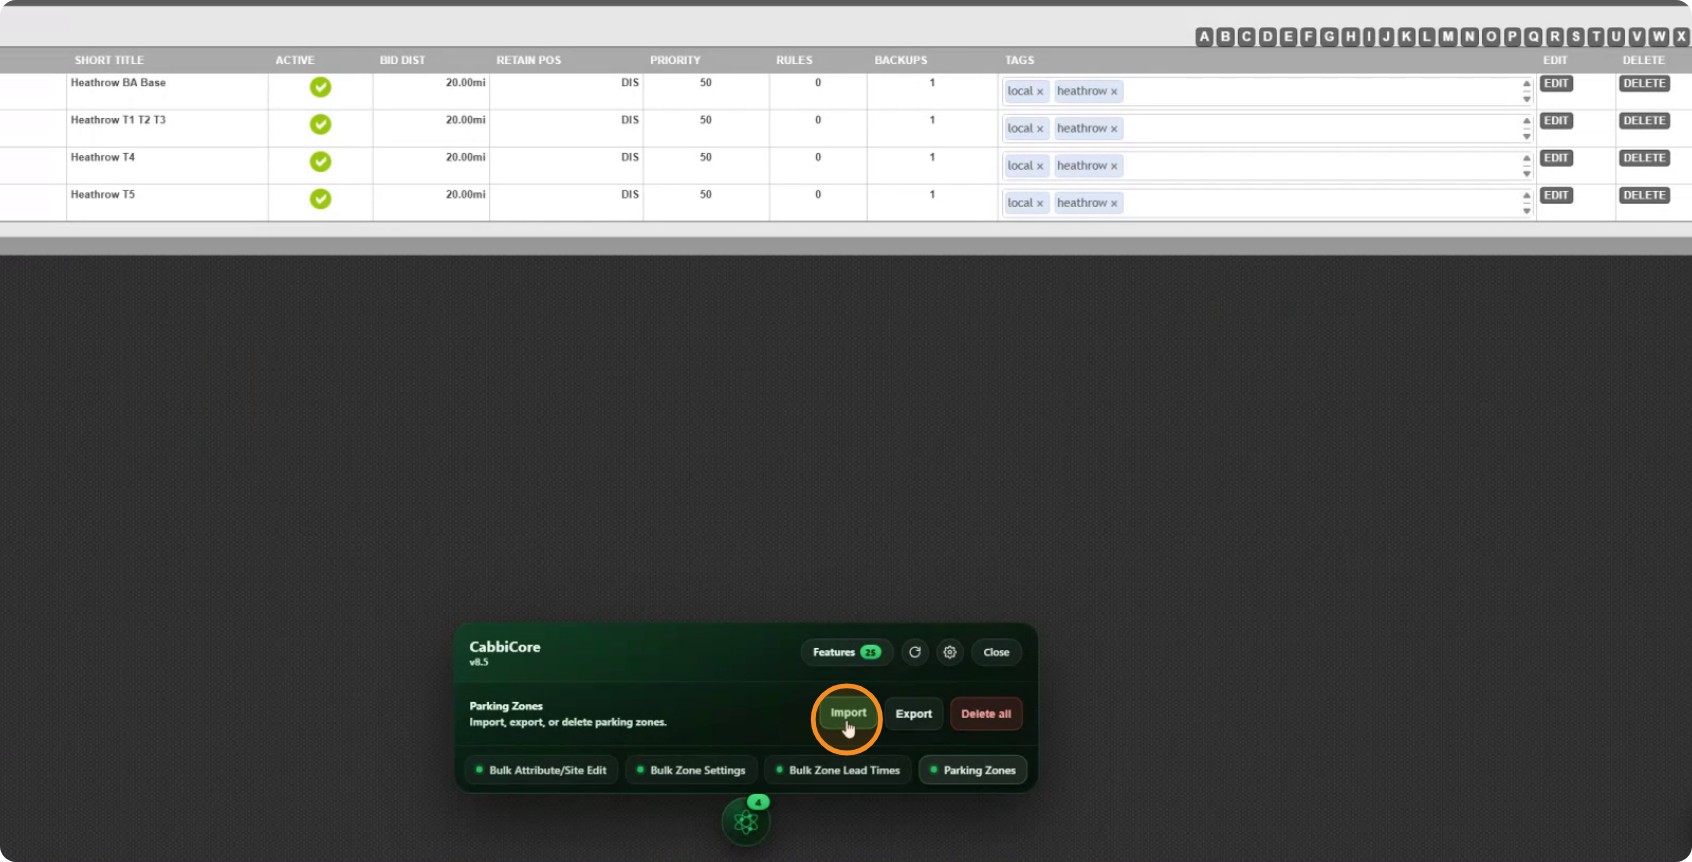
Click Import.
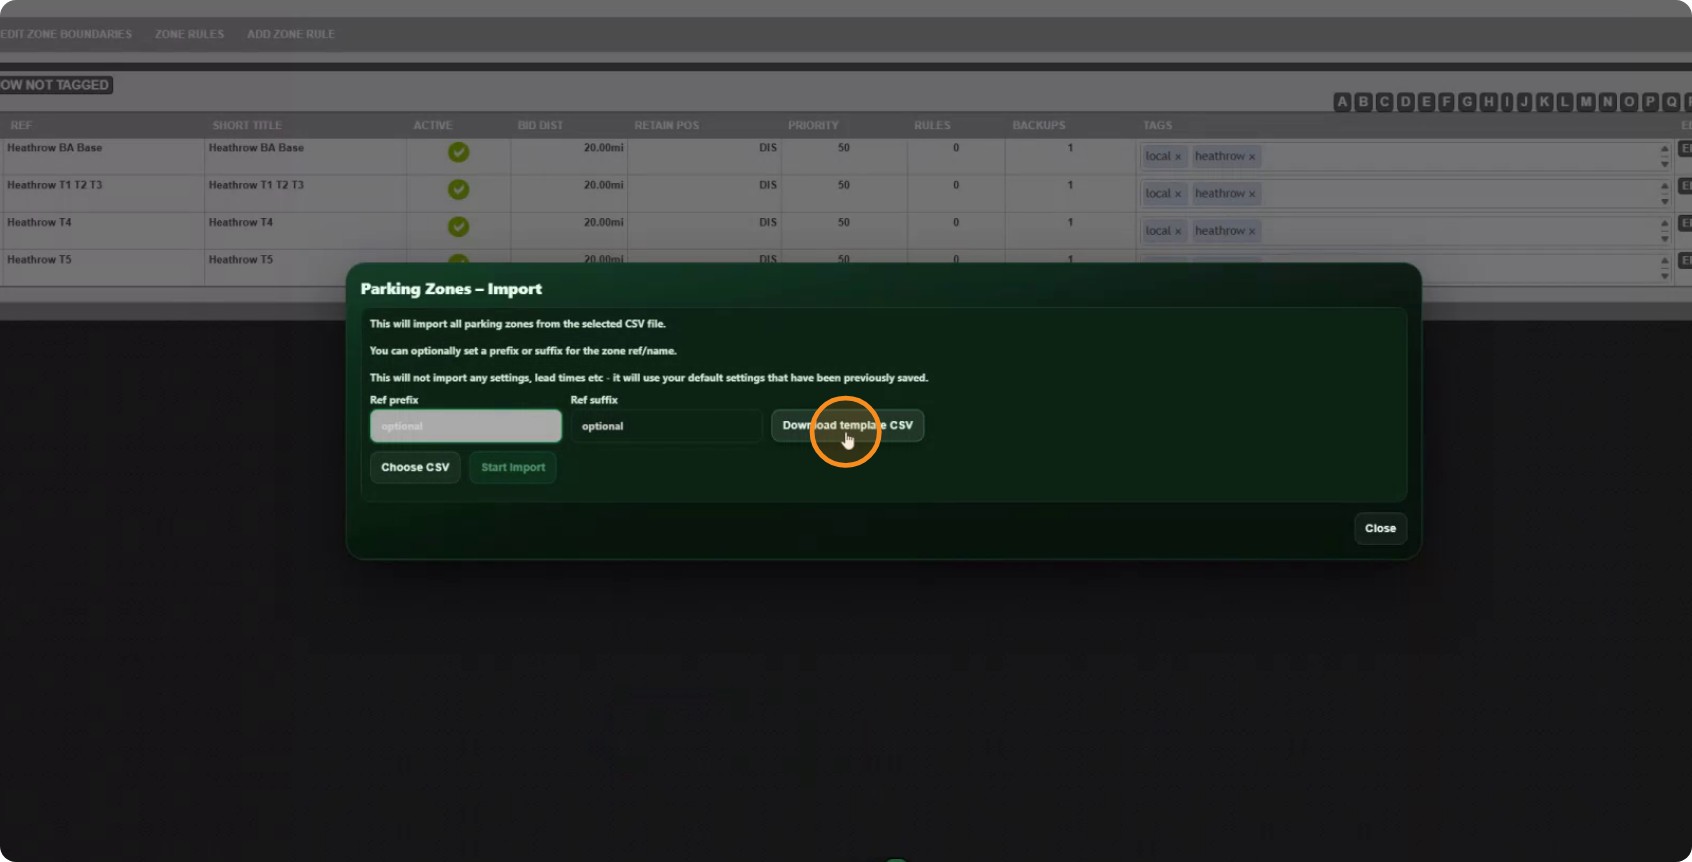
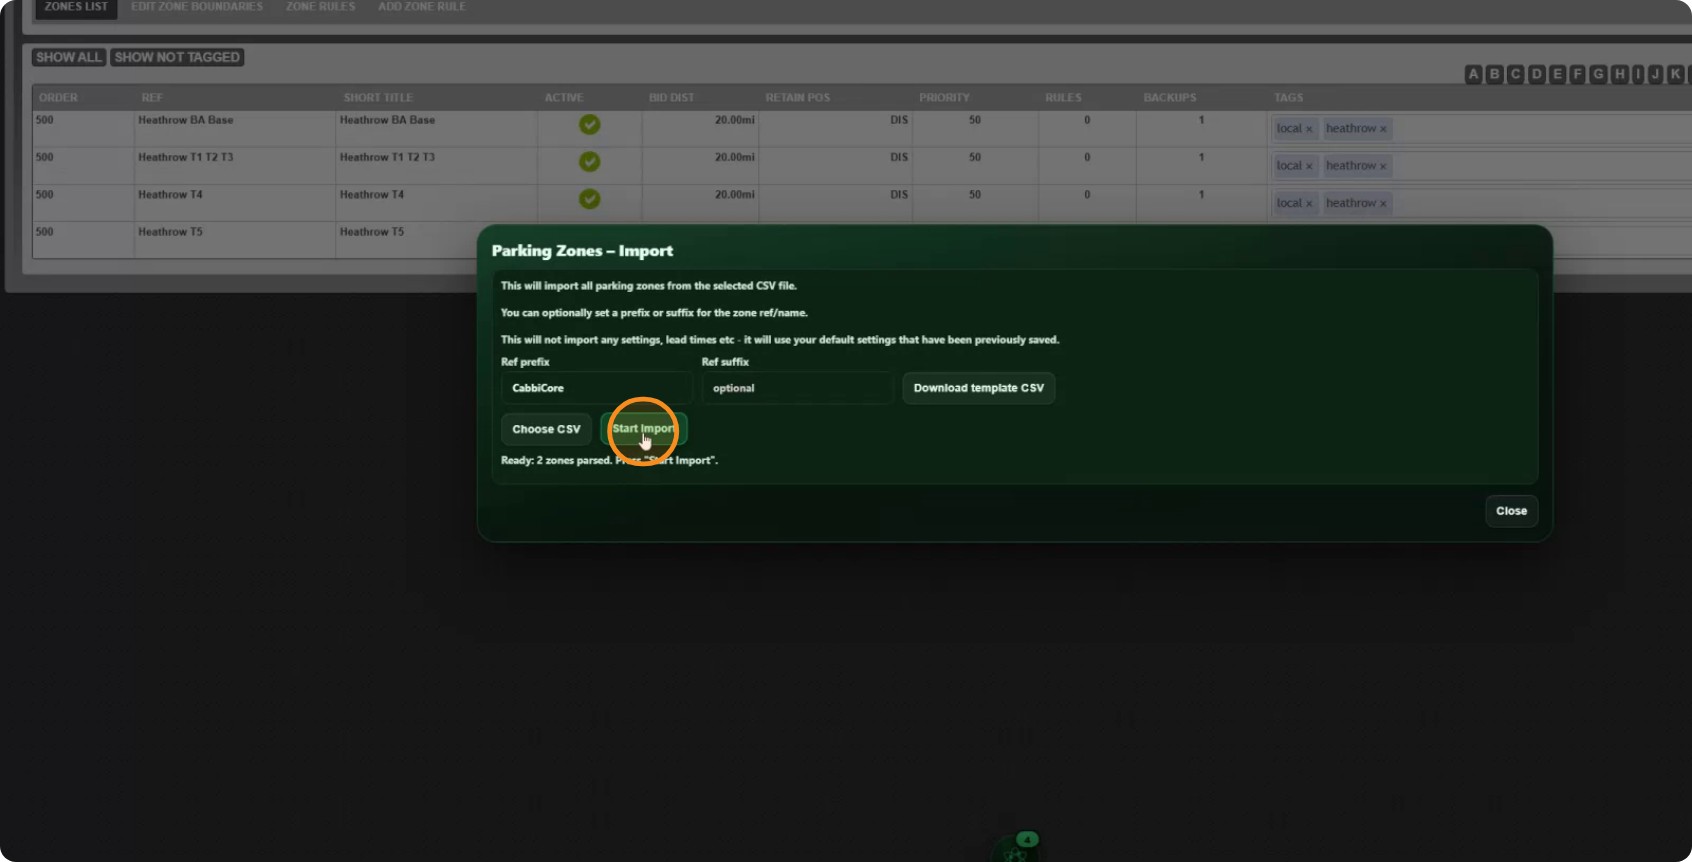
Before you choose a file you can set an optional prefix and suffix. These are added to both the zone name and the zone reference, separated by a space.
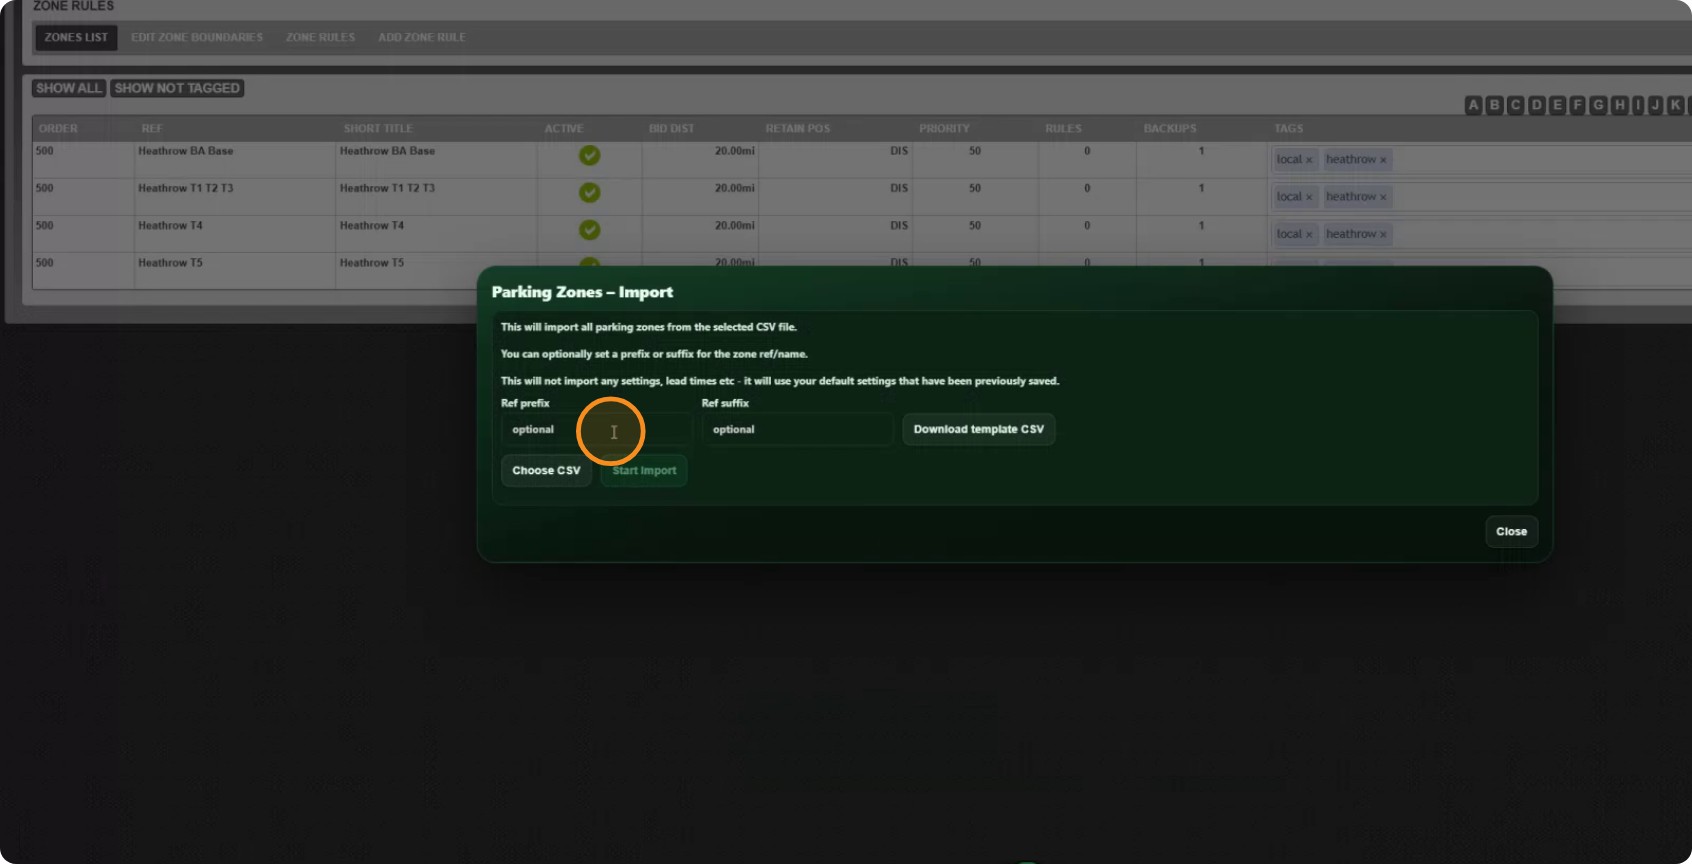
If you are not sure what the file should look like, click CSV template to download an example.
The template contains two example zones, Town Centre and West End, filled in correctly. Match that layout and your own file will import cleanly.
Step 5: Choose your file
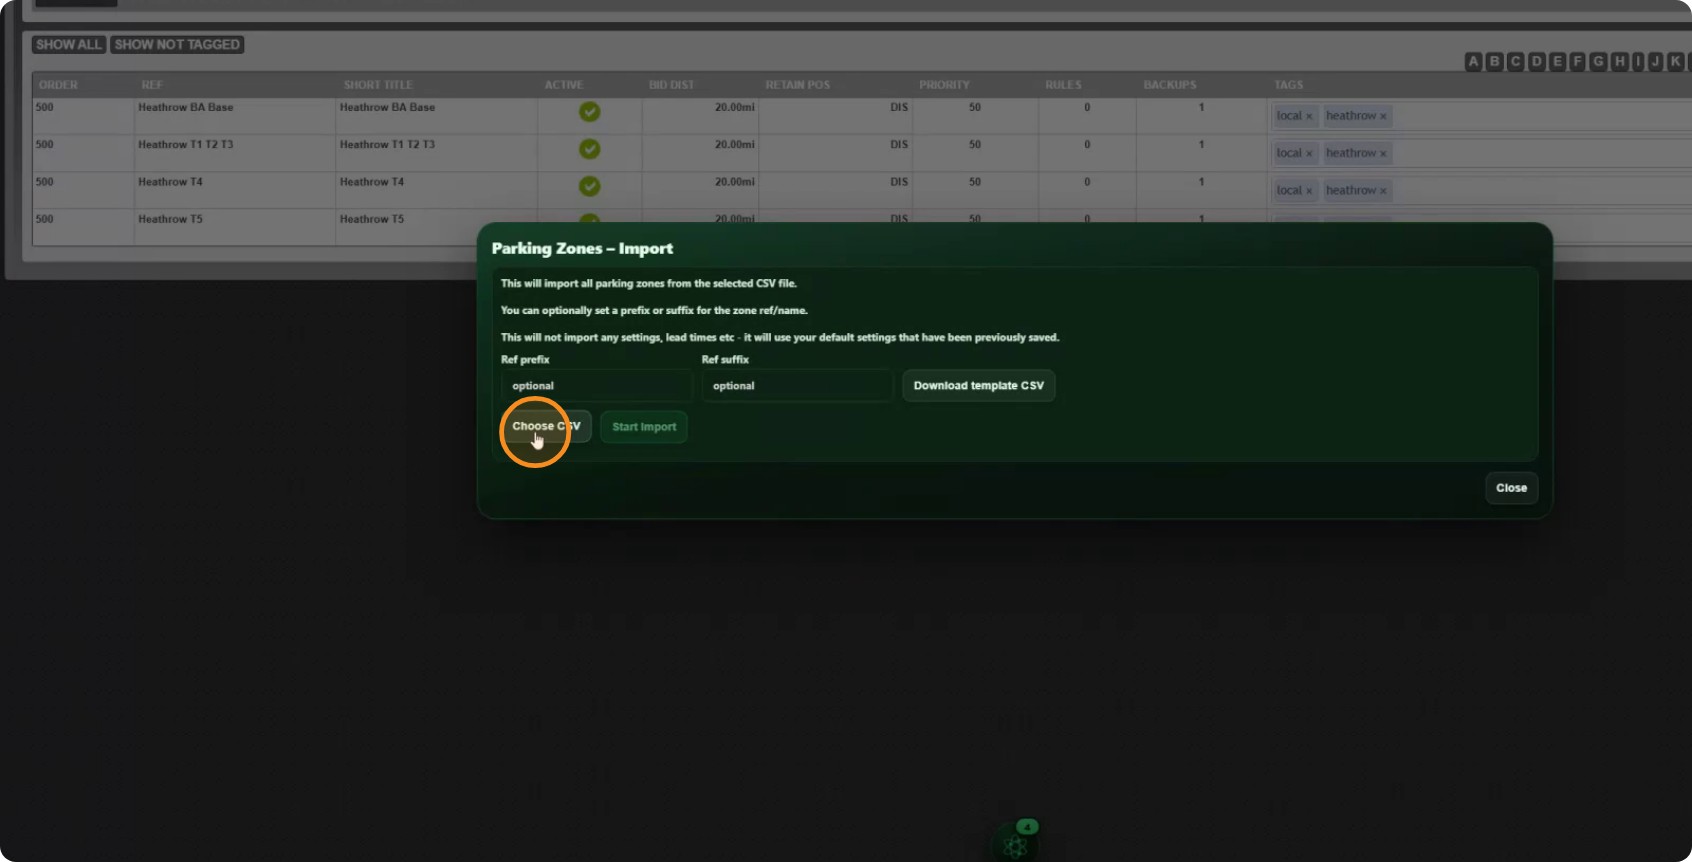
Pick the CSV you want to import.
Here we have set the prefix to CabbiCore.
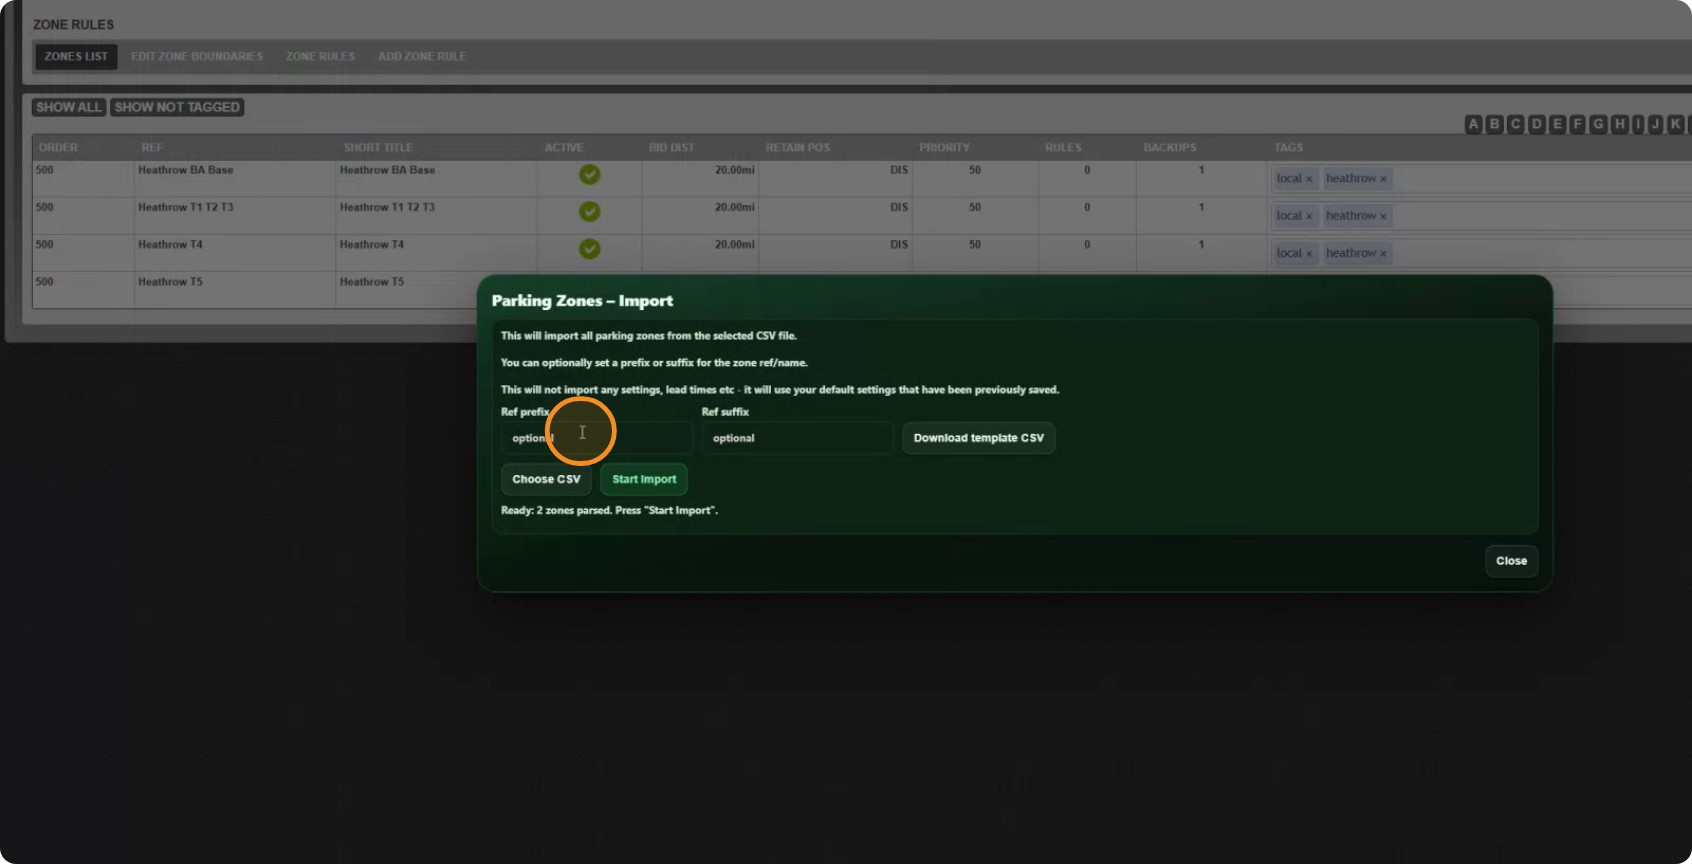
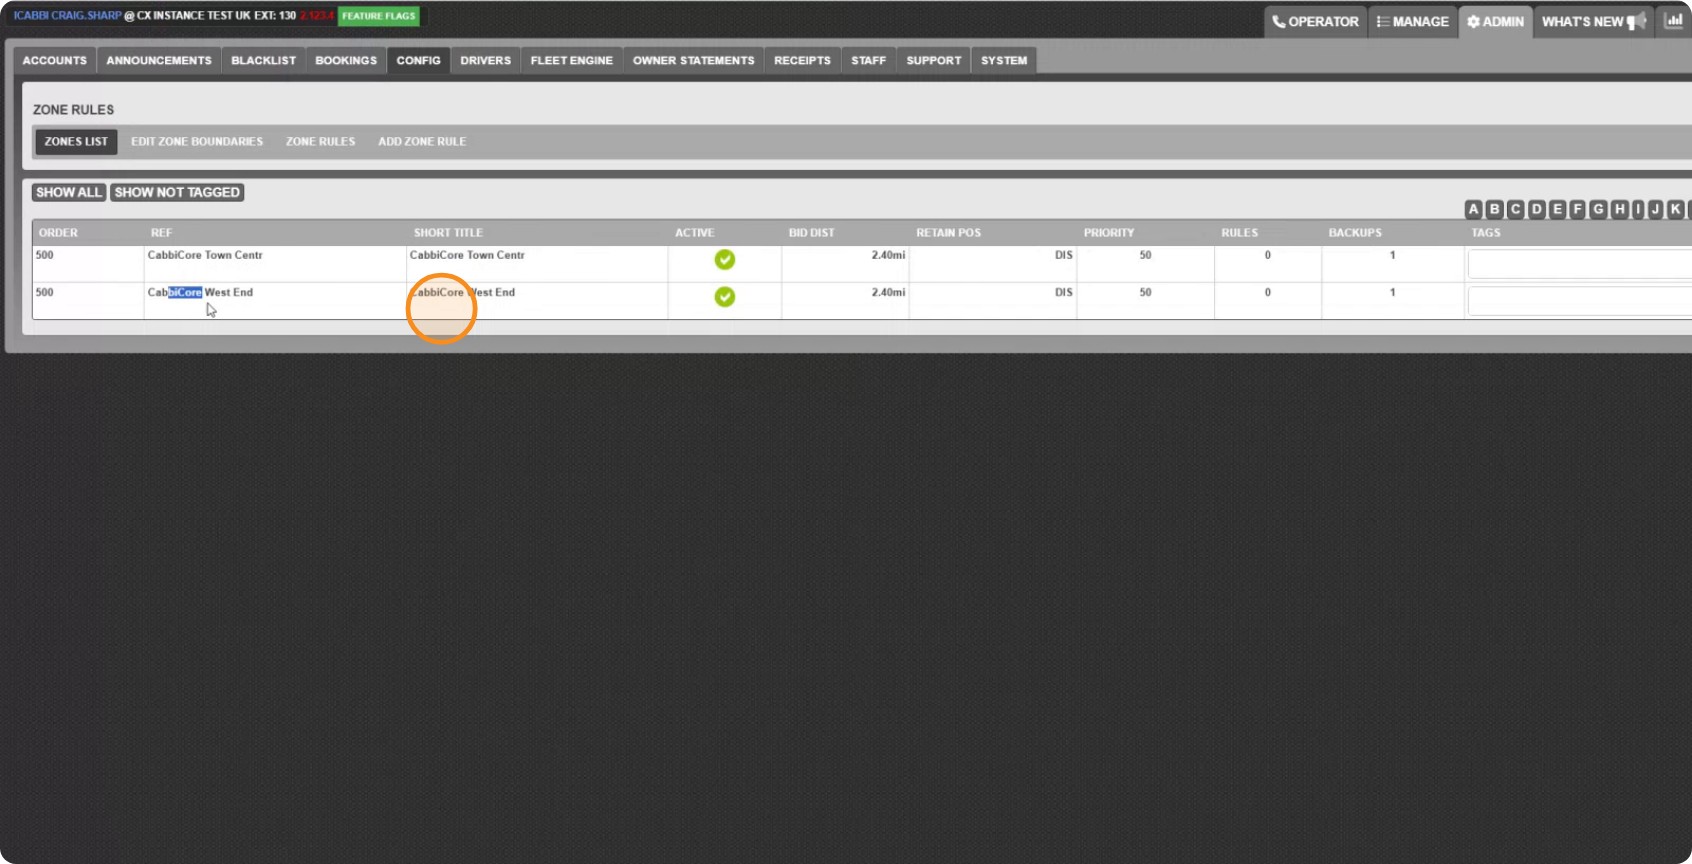
So the two zones in the template arrive as CabbiCore Town Centre and CabbiCore West End. A prefix is a good way to keep imported zones easy to spot, especially on a system that already has zones of its own.
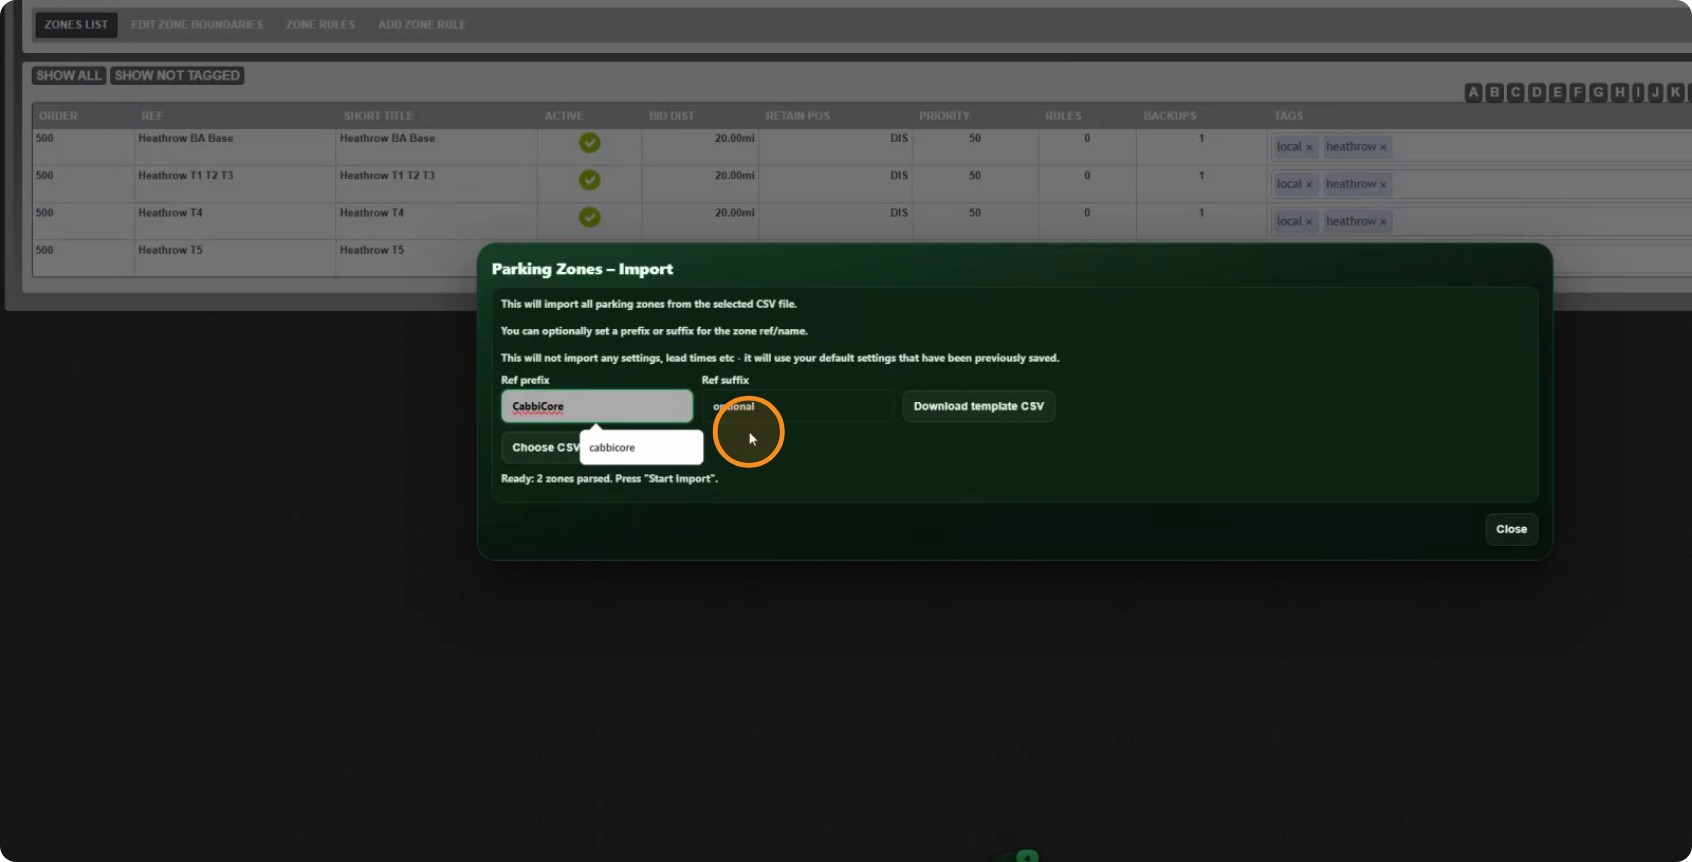
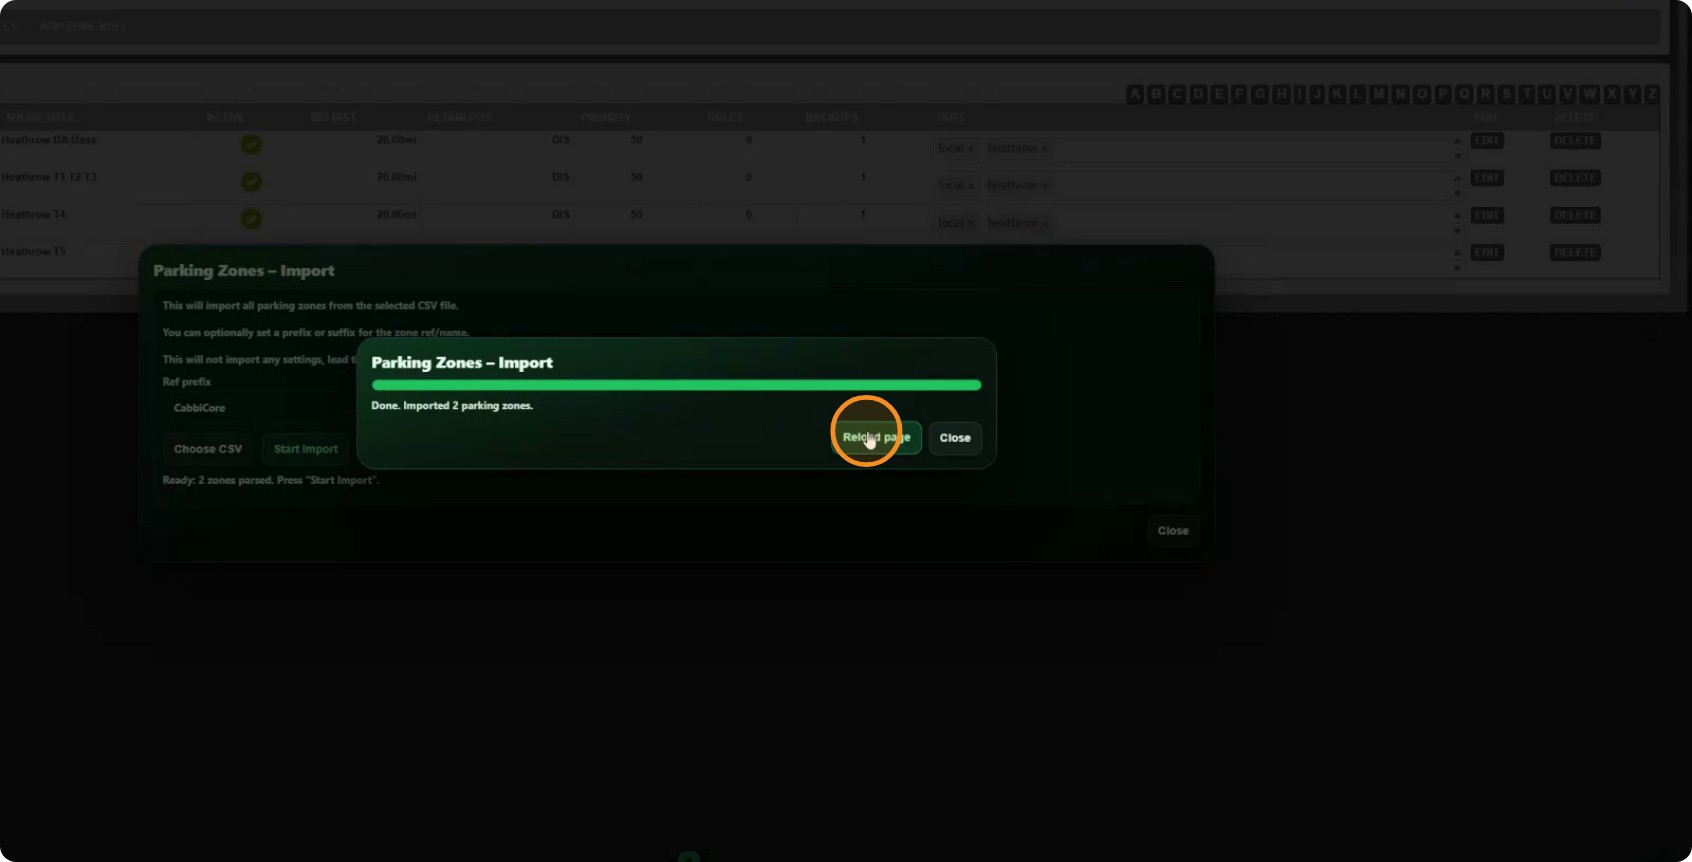
Start the import.
Step 6: Check they arrived
Use the filter on the Parking Zones list to search for your prefix.
Your imported zones should all be there.
What does not come across
The import creates zone boundaries only — the name, the reference and the shape. It does not bring settings or lead times with it. Imported zones pick up the default settings you have already saved for new zones, so it is worth checking those are right before you import a large batch.
A word about Delete All
Delete All removes every parking zone in the system. There is no undo. Export first if there is any chance you will want those zones back.